Configure the GSA Schema for OpenComms Designer
- In the root directory of OpenCommsDesigner (by default: C:\Program Files\Bentley\Communications 2023\OpenCommsDesigner) locate and double click the OpenCommsSchemaUpdate.exe file to display the following dialog:
- Click the Browse button to browse to the folder containing the V8i schema that needs to be updated. Highlight the file and click the Open button in the Explorer Window. The path to the schema will fill in on the Input File line. Click Migrate Schema to generate the new schema file. The dialog will display the output file path and any changes that were made to the old schema:
- Open the new schema with the ‘_out’ suffix indicated in the ‘Changes written to file:’ line of the results dialog (see above).
- Edit the Configuration Root Directory on the Geospatial Project page—this should point to the Configuration folder that houses the shared WorkSpaces folder for the project.
- Apply the changes:
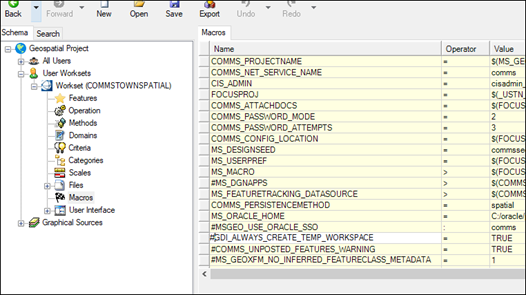
- Edit the Macro section for long or short transaction and apply the changes:
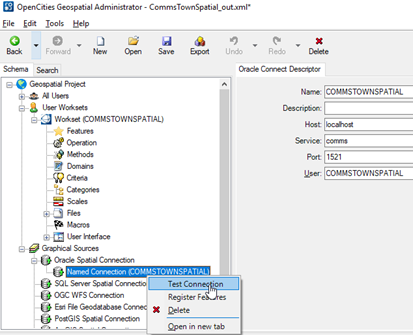
- Open the Oracle Graphical Source and edit the Host, Service, and Port fields with the appropriate Oracle Connection information:
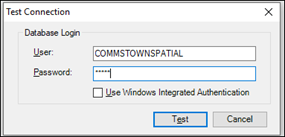
- Right click on the Named Connection and click Test Connection—fill in password and click Test:
- After a ‘Connection
Successful’ dialog, click Ok. Apply, Save, and Export the schema.
After the schema has been exported, verify that these 2 files were created:
- CommunicationsSpatial.cfg--C:\ProgramData\Bentley\Communications 2023\Configuration\WorkSpaces\ folder. (Path may differ to Shared Workspaces folder.)
- COMMSTOWNSPATIAL.cfg--C:\ProgramData\Bentley\Communications 2023\Configuration\WorkSpaces\CommunicationsSpatial\WorkSets\ folder. (Path may differ to Shared WorkSets folder.)